








I made this super cute bag in a box using a tutorial that I found on SCS in the resource section. Super cute and so easy... easy enough to make a bunch of them for all of the little goblins and gremlins on your spooky list! I colored the Devil Doll HILDA with copic markers and I used my spooky fence punch for a little bit extra Halloween flavor... Thanks for popping in and be sure to check out the Stamp Insanity blog for all of the other gals creations...
And ... for your insane pleasure...
Traverse City State Hospital

Opened in 1885 by the state in response to overcrowding in the state's four other asylums. It was built according to the Kirkbride plan with the north wing for female patients and the south wing for male patients. The Kirkbride building still exists and is now known as Building 50. When the 20th century began, cottages were constructed on the grounds as the patient population grew. There was also a farm on the site but most of those buildings have not survived to modern times. This facility was closed in 1989 as part of the trend toward deinstutionalization of mentally ill population. After closing, the facility passed in ownership to the local government and was converted into offices, shops, a police station etc. called Grand Traverse Commons.


 After I cut the 9 x 6 paper, I folded it in half and laid it on the bag to see where it would look right... then I measured in 2.5 inches from the right and 2.5 inches from the left. I put a dot at each measurement to get ready to cut the slot for the handles.
 Next, I randomly stamped the pumpkin image from DRS all over the front of the bag topper
 I got out my trusty crop-a-dile and set copper eyelets in the front and back of the topper to allow a place for ribbon to be tied! Here, I used large copper eyelets.
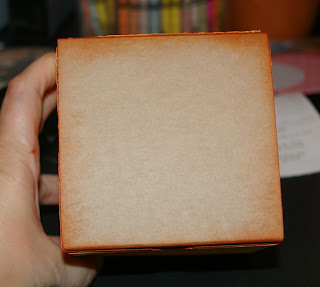 I ran the paper for the sides through the cuttlebug and inked the design with orange ink to show off the embossing on the paper.
 I stamped this gorgeous image from DRS on the front panel and colored it with chalks... I LOVE this image and how Fall like it is! I can smell the turkey roasting and the cider mulling!!!


